5 Rookie Mistakes When Applying Press-On Nails

Ever tried press-on nails and felt they just weren't sticking right? You're not alone. Many folks dive into the world of press-ons thinking it'll be a piece of cake, only to find out there's a bit of a learning curve. From prep work to sizing, there are a few common blunders that can make or break your manicure. Let's break down these rookie mistakes and get you on the path to flawless nails.
Key Takeaways
Always prep your nails before applying press-ons.
Size your press-on nails properly to avoid discomfort.
Press down firmly to ensure the nails stick well.
Give the glue enough time to dry completely.
File your press-ons gently to avoid damage.
1. Skipping The Prep Work
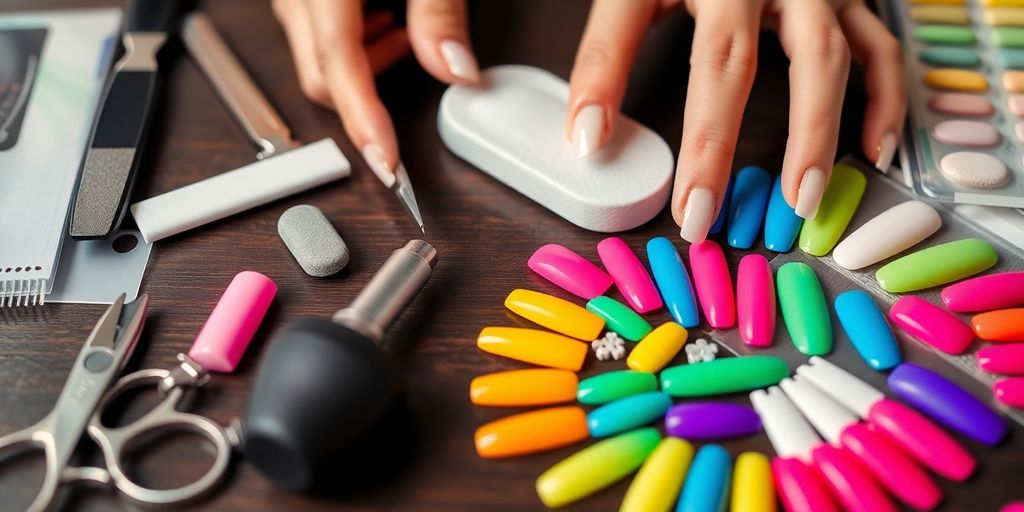
Alright, let's dive into the first rookie mistake: skipping the prep work. You might think, "Who needs prep? Just slap on those nails and go!" But hold your horses, because skipping the prep is like trying to paint a masterpiece on a dirty canvas. Your press-ons deserve better!
Why Prep Matters
Clean Slate: Start with squeaky clean nails. Any dirt or oil hanging around is like kryptonite for your press-ons.
Cuticle Care: Push those cuticles back, folks. They're not just there for decoration.
Buff It Out: Give your nails a gentle buff. This helps the press-ons stick like glue (literally).
The Mixxnails Way
Mixxnails knows a thing or two about nails, and they swear by the prep process. Here's how they roll:
Dehydrate: Use a bit of alcohol or acetone to wipe down your nails. This step is crucial to remove any leftover oils.
Shape Up: File your nails into a shape that matches the press-ons. Otherwise, you might end up looking like Edward Scissorhands.
Prime Time: Some folks like to use a nail primer for extra sticking power. It's like double-sided tape for your nails.
"Think of prep as the appetizer before the main course. You wouldn't skip the appetizer, would you?"
So, next time you're in a rush to pop on those nails, remember: a little prep goes a long way. Your future self will thank you when your nails stay fabulous for days!
2. Choosing The Wrong Size
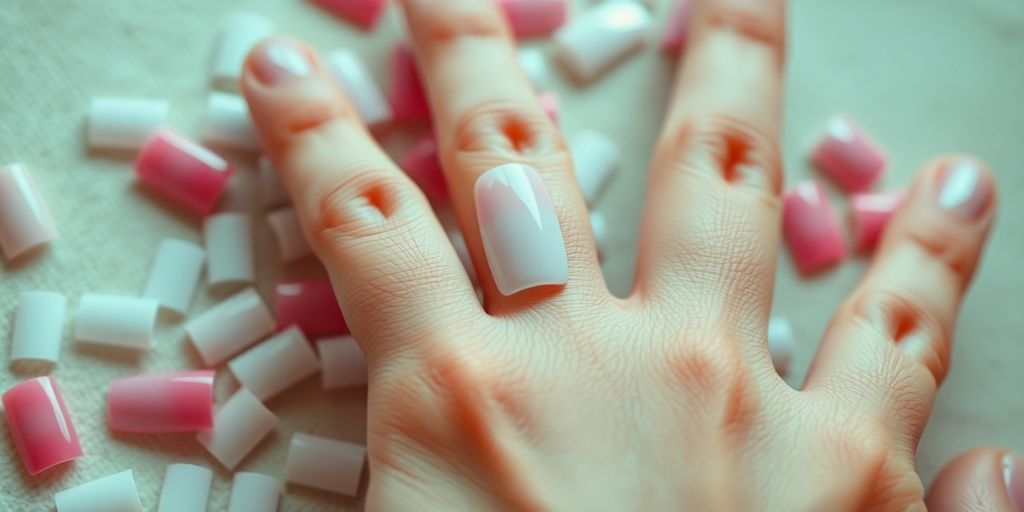
Alright, folks, let's talk about size. No, not that kind of size. I'm talking about your press-on nails. You wouldn't wear shoes two sizes too big, right? So why slap on nails that don't fit?
Choosing the wrong size is like trying to fit a square peg in a round hole. It's not gonna work, and it's gonna look weird. Here's the deal: using a nail that's too big might have you feeling like you're wearing clown shoes on your fingers. On the flip side, a nail that's too small can leave awkward gaps, making your manicure look like it was done by a toddler.
How to Get the Right Size
Measure Twice, Stick Once: Before you even think about applying, take a moment to measure your nails. Trust me, this isn't rocket science. Just grab a ruler or a measuring tape and check the width of your nail beds.
Use a Sizing Guide: Many press-on nail kits, like those from Petal Dream, come with a handy sizing guide. Use it! It's there for a reason, and it'll save you from the dreaded "nail pop-off" at dinner.
When in Doubt, Go Smaller: If you're stuck between two sizes, opt for the smaller one. A snug fit is better than having your nails trying to make a break for it.
"The right size press-on nail is like finding the perfect pair of jeans. Once you find it, you'll never want to let it go."
So, don't be that person with nails that look like they're playing dress-up. Get the size right, and your nails will thank you for it! And remember, Petal Dream's handmade press-ons come in various sizes, so there's really no excuse for a bad fit.
3. Not Pressing Down Firmly
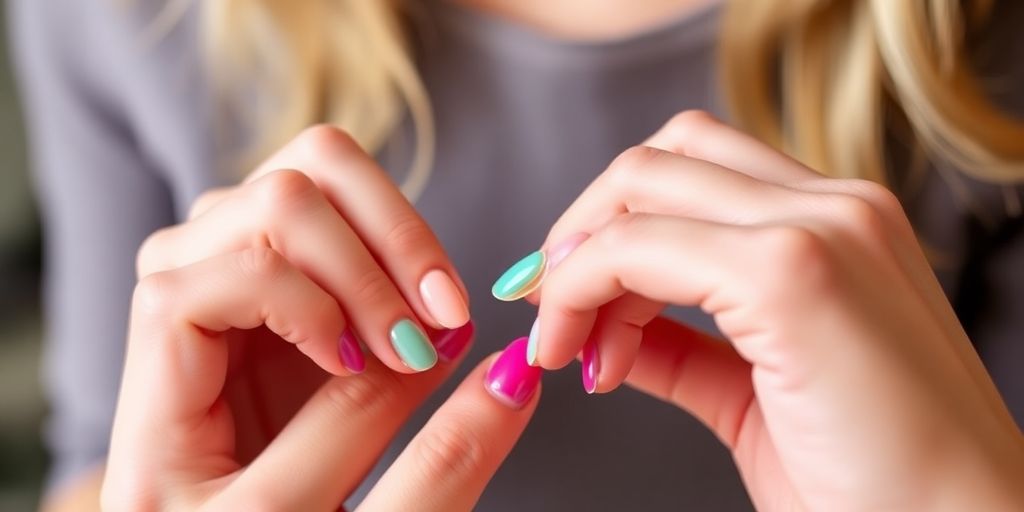
Alright, folks, let's talk about the third rookie mistake in the press-on nail game: not pressing down firmly. Imagine this: you've got your perfect set of nails, they're looking fabulous, and then... they start popping off like popcorn in a microwave. Why? Because you didn't press down hard enough!
Why It's a Problem
Not pressing down firmly is like trying to stick a post-it note to a wet surface. It just won't hold. The adhesive needs a good, solid press to really bond with your natural nail. Without that pressure, you're basically setting yourself up for a nail catastrophe.
How to Do It Right
Here's the lowdown on getting it right:
Position the Nail: Start by positioning the press-on nail at an angle against your cuticle line.
Press Down: Use your thumb to apply firm pressure on the middle of the nail, then move to the edges. Do this for about 10-15 seconds.
Check the Seal: Make sure there's no air between your nail and the press-on. If you see any gaps, press again.
Pro Tips
Don't be shy! Press like you mean it. You're not going to hurt yourself.
If you're using glue tabs, give them a few extra seconds of pressure.
For nail glue, be a bit more patient; hold it down for longer to ensure a strong bond.
A firm press is your best friend when it comes to ensuring your press-ons stay put. Trust me, no one wants to find a rogue nail in their salad during lunch.
So, next time you're glamming up your nails, remember: press like you're sealing the deal on a new car. Happy nail-ing!
4. Not Allowing Enough Time To Dry
You’ve just applied your Amber Drops press-on nails and they look fabulous—until you decide to dive into the dishwashing or start a mini wrestling match with your cat. Patience is a virtue, especially when it comes to letting your press-on nails set properly.
Here's why waiting is worth it:
Glue Needs Time to Bond: The adhesive isn't some magical potion that sticks instantly. It needs time to form a strong bond between your nail and the press-on. Think of it like a first date; you need to give it time to get comfortable.
Avoiding Premature Lifting: If you rush into activities too soon, you risk the dreaded nail pop-off. And trust me, nothing is more embarrassing than a rogue nail flying across the room during a meeting.
Maximum Durability: Allowing the glue to dry thoroughly ensures your nails last longer, giving you that salon-quality look for days.
"I once thought I could skip the drying time and ended up with a nail in my spaghetti. Lesson learned: patience is key!"
So, kick back, relax, and maybe catch up on your favorite show while those nails dry. Your future self will thank you.
5. Filling The Press-Ons Incorrectly
Filing Faux Pas: The Not-So-Great Shape Shifter
Filing your handmade press-on nails should be like sculpting a masterpiece, not hacking away at a block of wood. Gentle strokes are your best friend here—think of it as petting a kitten, not sanding a floor.
The Wacky World of Angles
When it comes to angles, it's not about getting a degree in geometry. Just make sure you're filing in one direction. Back and forth is great for rocking chairs, not so much for your nails. This helps prevent splitting or cracking, which no one wants to deal with after spending time perfecting their acrylic nails.
The Lengthy Debate
Let's talk length. Are you going for claws or something a bit more "I-can-still-type" friendly? Measure twice, file once. Remember, you can always take more off, but adding it back? Not so much.
"Acrylic nails can be a statement, but a poorly filed one is a cry for help."
The Shape of Things
Oval, square, stiletto—oh my! The shape you choose should complement your hand, not make it look like you're about to audition for a Wolverine reboot. Take your time deciding, and maybe even experiment a little. After all, press-ons are about having fun!
The Aftermath: Smooth Operator
Once you've shaped and filed to your heart's content, don't forget to smooth things out. A quick buff will help avoid any snagging on your favorite sweater and keep your press ons looking sleek and polished.
Here's a quick checklist to keep you on track:
File in one direction
Choose your length wisely
Decide on a shape that fits your style
Buff for a smooth finish
By following these steps, your press-ons will not only look great but also stay put longer. So, channel your inner nail artist and file away, but remember—gently does it!
When you put on press-on nails, doing it the wrong way can lead to problems. Make sure to follow the right steps to avoid any issues. If you want to learn more about how to do it correctly, visit our website for helpful tips and tricks!
Conclusion
So there you have it, folks! The wild world of press-on nails isn't as easy as it seems, but with a little practice and a lot of patience, you'll be a pro in no time. Remember, it's all about the prep work, picking the right size, and giving those nails a good press. And hey, if you mess up, just laugh it off and try again. After all, it's just nails, not rocket science! So go ahead, slap on those press-ons and strut your stuff like the nail diva you are. Just maybe keep the super glue away from your fingers, okay?
Frequently Asked Questions
How do I prepare my nails before applying press-ons?
Start by pushing back your cuticles, buffing the nail surface, and cleaning them with alcohol or acetone to remove oils.
What happens if I choose the wrong size of press-on nails?
If the nails are too big, they can be uncomfortable. If they're too small, there might be gaps, making them fall off easily.
Why is pressing down on the nails important?
Pressing down firmly ensures that the nails stick properly, reducing the chances of them popping off.
How long should I wait for the glue to dry?
Give the glue a few hours to dry completely before using your hands for any activities.
Can I file my press-on nails to shape them?
Yes, you can file them, but do it gently to avoid damaging the nails.
What are the benefits of press-on nails?
They are quick to apply, come in various designs, and are less damaging than acrylic nails.