Mastering the Art of Press On Nails: A Comprehensive Step-by-Step Guide

Press-on nails have become a game changer for those of us who love a fresh manicure but dread the time and cost of salon visits. They're quick, easy, and can look just as good as professional nails if you know what you're doing. In this guide, we're diving deep into everything you need to know about press-on nails. From picking the right set to making them last, we've got you covered.
Key Takeaways
-
Press-on nails offer a quick and easy way to achieve salon-quality nails at home.
-
Choosing the right shape and size is crucial for a natural look.
-
Prepping your natural nails is key to making press-ons last longer.
-
Applying the right amount of adhesive ensures a strong hold.
-
Caring for your press-ons helps maintain their look and longevity.
Understanding Press On Nails
What Are Press On Nails?
Press on nails, often called false nails or stick-on nails, are artificial nails that you can easily attach to your natural nails using adhesive. They come in a variety of shapes, sizes, and designs, making it simple to achieve a salon-quality look at home. These nails are a fantastic option for those who want to switch up their nail style without the commitment of a full salon manicure.
Benefits of Using Press On Nails
Press on nails offer several advantages over traditional nail treatments:
-
Convenience: They are quick to apply and remove, perfect for last-minute events.
-
Affordability: Compared to regular salon visits, press on nails are much more budget-friendly.
-
Variety: With endless designs and colors, you can change your style as often as you like.
-
Non-Damaging: When applied and removed correctly, they don't harm your natural nails.
Press on nails are a game-changer for those who love to experiment with nail art but don't have the time or money for frequent salon visits.
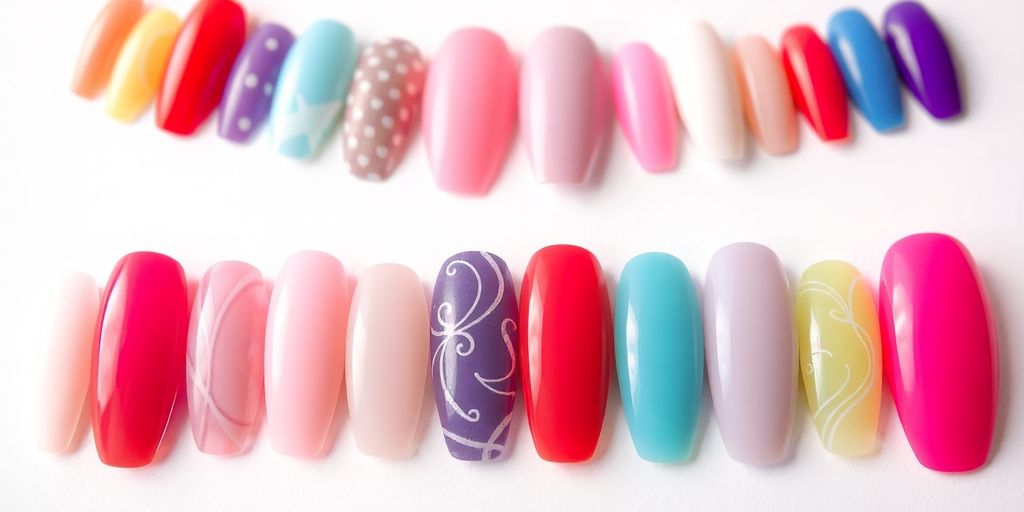
Different Types of Press On Nails
There are several types of press on nails available, each catering to different preferences:
-
Full-Coverage Nails: These cover the entire nail and are great for a complete transformation.
-
Half-Coverage Nails: Ideal for those who want to maintain a natural look while adding length.
-
Pre-Painted Nails: These come with designs already on them, saving you the hassle of painting.
-
Customizable Nails: Perfect for those who enjoy personalizing their nails with unique designs and colors.
Choosing the Right Press On Nails for You
Selecting the Perfect Shape and Size
Choosing the right shape and size of press on nails is a bit like picking the right pair of shoes. You want them to fit just right—not too tight, not too loose. Measure your natural nails to find the perfect fit. Use a sizing kit or simply line up different sizes to see which one matches best. Some popular shapes include square, oval, and stiletto. Each shape gives a different vibe, so think about what matches your style.
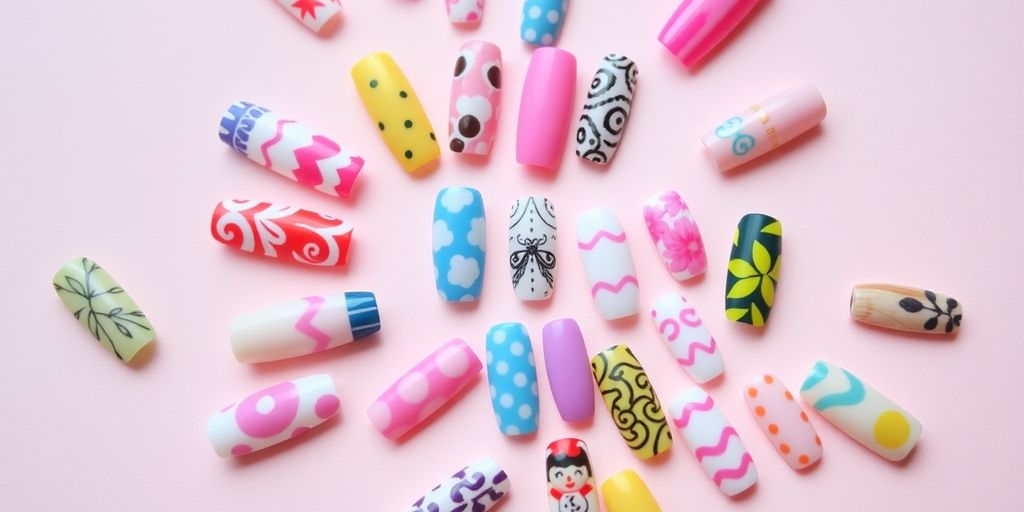
Exploring Various Designs and Styles
There's a whole world of designs out there, from simple and classy to bold and striking. Mixxnails offers a wide variety of styles that can match any mood or occasion. Whether you're heading to a wedding or just want to jazz up your everyday look, there's something for everyone. Consider seasonal designs or even custom options if you want something truly unique.
Matching Nails to Your Personal Style
Your nails are an extension of your personal style. Are you into classic elegance, or do you lean towards edgy and modern? Think about what colors and patterns resonate with you. If you're unsure, start with a neutral palette and gradually experiment with more daring choices. Remember, it's all about expressing yourself and having fun with it.
Picking the right press on nails is about finding that sweet spot where comfort meets style. Take your time to explore different options and see what feels right for you.
Preparing Your Natural Nails for Application
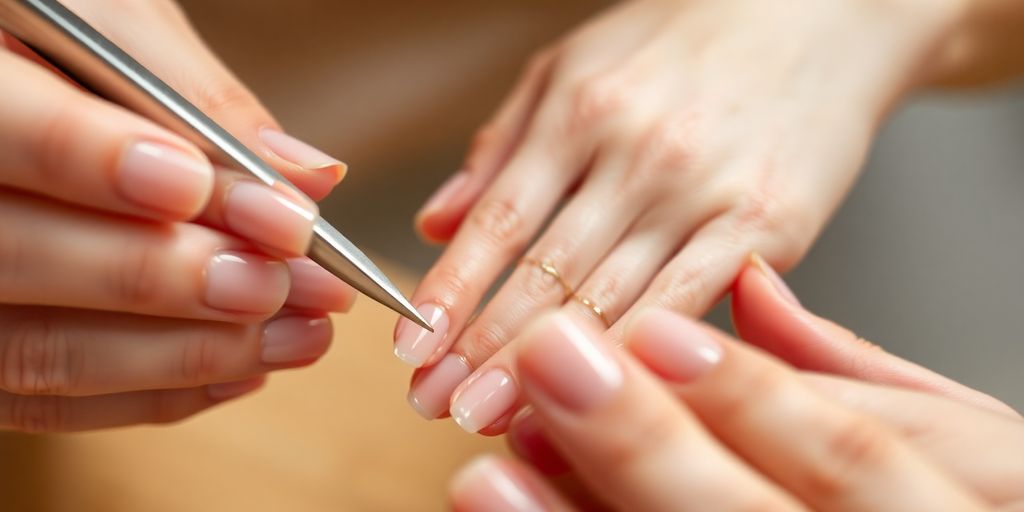
Essential Tools and Supplies Needed
Before you jump into applying press-on nails, gather all the necessary tools. You'll need a nail file, buffer, cuticle pusher, and an alcohol prep pad. These are the basics to ensure your nails are ready for those press-ons. If you're into extra care, consider getting a nail primer too. Having the right tools can make all the difference.
Steps to Clean and Shape Your Nails
-
Wash Your Hands: Start with clean hands to avoid any dirt or oils getting trapped under the nails.
-
Push Back Cuticles: Use a cuticle pusher to gently push back your cuticles. This gives more space for the press-on nails to adhere.
-
File and Buff Nails: Shape your nails with a file to match the press-on nails. Buffing your nails lightly helps the adhesive stick better.
-
Clean with Alcohol Pad: Wipe your nails with an alcohol pad to remove any oils or residue.
How to Protect Your Natural Nails
-
Avoid Harsh Chemicals: When cleaning or doing dishes, wear gloves to protect your nails.
-
Moisturize Regularly: Keep your nails and cuticles moisturized to prevent them from becoming brittle.
-
Limit Water Exposure: Try to avoid soaking your hands in water for long periods, as this can weaken both your natural and press-on nails.
Prepping your natural nails is like setting the stage for a great performance. When done right, it can make your press-on nails look flawless and last longer. Don't skip these steps if you want a salon-worthy result at home.
Step-by-Step Guide to Applying Press On Nails
Prepping the Press On Nails
Before you even think about applying those press-on nails, you need to prep them right. Proper preparation is key to making sure they stay on as long as possible. Start by laying out all the nails and matching them to your natural nails. You want to make sure each press-on fits snugly without overlapping onto your skin. If they're too big, you can gently file down the sides for a better fit. This step is crucial because a well-fitted nail won't pop off easily.
Applying Adhesive Correctly
Now, let's talk glue. You can use either nail glue or adhesive tabs. Nail glue tends to last longer, but adhesive tabs are easier to remove. If you're using glue, apply a small dot to the back of the press-on nail and spread it evenly. Press the nail onto your natural nail and hold it for about 30 seconds to ensure it's secure. If you're using adhesive tabs, just peel off the backing, stick it on your nail, and then press the press-on nail on top. It's that simple!
Ensuring a Long-Lasting Hold
To make sure your nails last, avoid getting them wet for at least two hours after application. This helps the adhesive set properly. Also, try to avoid using your nails as tools. Even though these press-ons are tough, they're not indestructible. Remember, you can always touch up with a little glue if you notice any lifting. For a salon-quality look that lasts up to two weeks, follow these steps and enjoy your fabulous new nails!
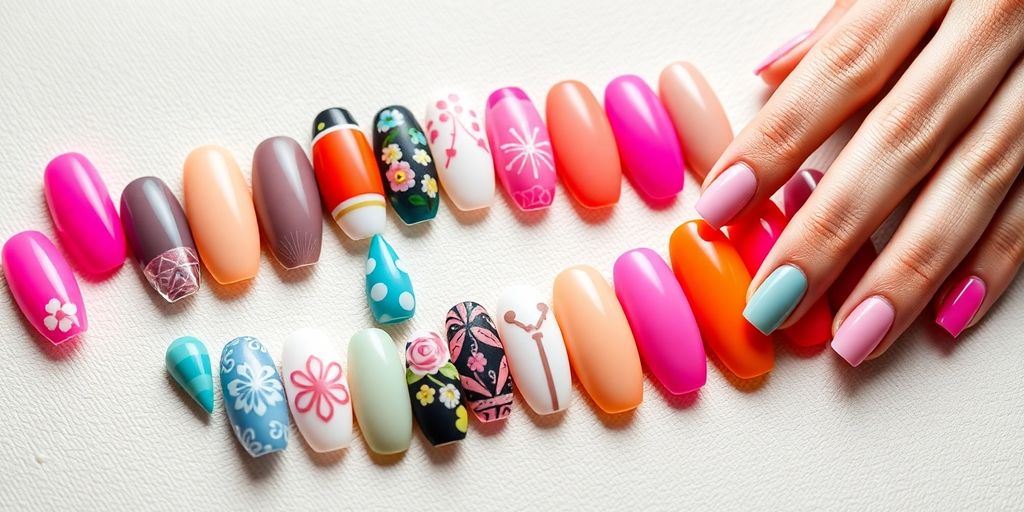
Customizing Your Press On Nails
Painting Techniques for Press On Nails
If you're looking to add a personal touch to your press-on nails, painting them is a great way to start. Painting press-on nails allows you to express your unique style without a salon visit. To begin, gather your supplies: a base coat, your chosen nail polish colors, and a top coat. You might also want some cotton swabs and tape for precision. Before you paint, ensure the nails are clean and dry. Apply a thin layer of base coat, let it dry, then proceed with your color of choice. Two coats usually give the best coverage. Finish with a top coat for shine and durability.
Adding Nail Art and Decorations
Nail art can elevate your press-on nails from simple to stunning. Consider using stickers, rhinestones, or even hand-drawn designs for a personalized look. Start by planning your design. It's helpful to sketch it out on paper first. Once you have a plan, apply your base color and let it dry. Use a fine brush or a dotting tool for detailed work. Secure any decorations with nail glue and seal the design with a top coat to keep everything in place.
Using Top Coats for a Professional Finish
A good top coat is essential for a polished look. It not only adds a beautiful shine but also protects your design from chipping. Choose between glossy, matte, or gel-like finishes depending on your preferred style. Apply the top coat evenly, covering the entire nail. This step is crucial for MIXX TRENDY nails to last longer and look professionally done. Let the top coat dry thoroughly to ensure a smooth, lasting finish.
Customizing your press-on nails is like painting on a small canvas. With a little creativity and the right tools, you can transform your nails into a masterpiece that reflects your personal flair.
Maintaining and Caring for Your Press On Nails
Daily Care Tips to Extend Wear
To keep your press-on nails looking fresh and fabulous, you should incorporate some daily habits. Avoid soaking your nails in water for long periods; this can weaken the adhesive and cause the nails to come off. When you're washing dishes or doing any chores involving water, make sure to wear gloves. This simple step can really help extend the life of your nails. Also, be mindful of how you use your hands—try not to use your nails as tools to open things or pick at objects.
How to Handle Lifting or Damage
If you notice any lifting at the edges of your nails, don't panic. You can fix this! Keep a small tube of nail glue handy for quick touch-ups. Just apply a tiny drop under the lifted area, press down, and hold for a few seconds. If a nail is beyond repair, it's often best to remove it and apply a new one. Remember to be gentle during removal to protect your natural nail.
Safe Removal Techniques
When it's time to take off your press-on nails, you'll want to do it safely to avoid damaging your natural nails. Start by soaking your nails in warm soapy water with a bit of olive oil for about 15-20 minutes. This will help loosen the adhesive. After soaking, gently use a cuticle pusher to lift the edges of the nails and slowly peel them off. If they resist, soak them a bit longer and try again. Patience is key here to keep your nails healthy.
Taking care of your press-on nails doesn't have to be a chore. With these simple tips, you can enjoy beautiful nails without the hassle of frequent salon visits.
Troubleshooting Common Press On Nail Issues
Dealing with Adhesive Problems
Struggling with press-on nails that just won't stick? You're not alone. The key is to ensure your nails are completely dry and oil-free before applying any adhesive. This might mean giving them a quick swipe with alcohol or acetone. If you're still having trouble, try switching up the adhesive. Some folks swear by nail glue, while others find adhesive tabs to be more reliable. Experiment to see what works best for you.
Fixing Chipped or Broken Nails
A chipped nail can really ruin your day, right? But don't worry, you can fix it without starting over. First, gently file down any rough edges. Then, if you've got a matching polish, go ahead and touch it up. No matching polish? A clear topcoat can help blend it in. And if the nail is beyond saving, just soak it off and replace it.
Preventing Nail Discoloration
Nobody wants yellow nails. To keep them looking fresh, always apply a base coat before the press-ons. This acts as a barrier between your nail and the adhesive. Also, be mindful of what you're doing with your hands. Cleaning chemicals, for instance, can cause discoloration. If you notice any staining, try buffing your nails lightly to remove it.
Press-on nails can be a fun and easy way to change up your look, but they do come with their own set of challenges. With a little patience and the right techniques, you can overcome these common issues and keep your nails looking fabulous.
If you're worried about damage, remember that experts agree that improper removal, particularly aggressive pulling, is the leading cause of damage to nails when using press-on nails. So, take your time and remove them gently.
If you're facing issues with your press-on nails, don't worry! Many people experience similar problems, and there are easy solutions. Check out our website for tips and tricks to fix common nail problems and keep your nails looking fabulous. Visit us at Mixxnails.com for more help!
Conclusion
So there you have it, folks! Mastering press-on nails is totally doable, even if you're just starting out. Whether you're painting them before or after sticking them on, it's all about having fun and making them your own. With a bit of practice and patience, you can create some seriously cool nail art right at home. So grab your favorite colors, get creative, and enjoy the process. Who knows, you might just find a new hobby you love!
Frequently Asked Questions
What are press-on nails made of?
Press-on nails are usually made from a type of plastic called ABS, which is safe and durable for nail applications.
How long do press-on nails typically last?
With proper care, press-on nails can last anywhere from 5 to 10 days, depending on the adhesive used and your daily activities.
Can I reuse press-on nails after removing them?
Yes, many press-on nails can be reused if they are removed carefully without damage. Simply clean off any adhesive residue before reapplying.
Do press-on nails damage your natural nails?
When applied and removed correctly, press-on nails should not damage your natural nails. Always follow the recommended removal process to avoid harm.
Can I trim and file press-on nails to fit better?
Absolutely! You can trim and file press-on nails to get the perfect shape and size that fits your natural nails comfortably.
What should I do if a press-on nail starts to lift?
If a press-on nail begins to lift, you can apply a small amount of nail glue under the lifted area and press down firmly to secure it back in place.